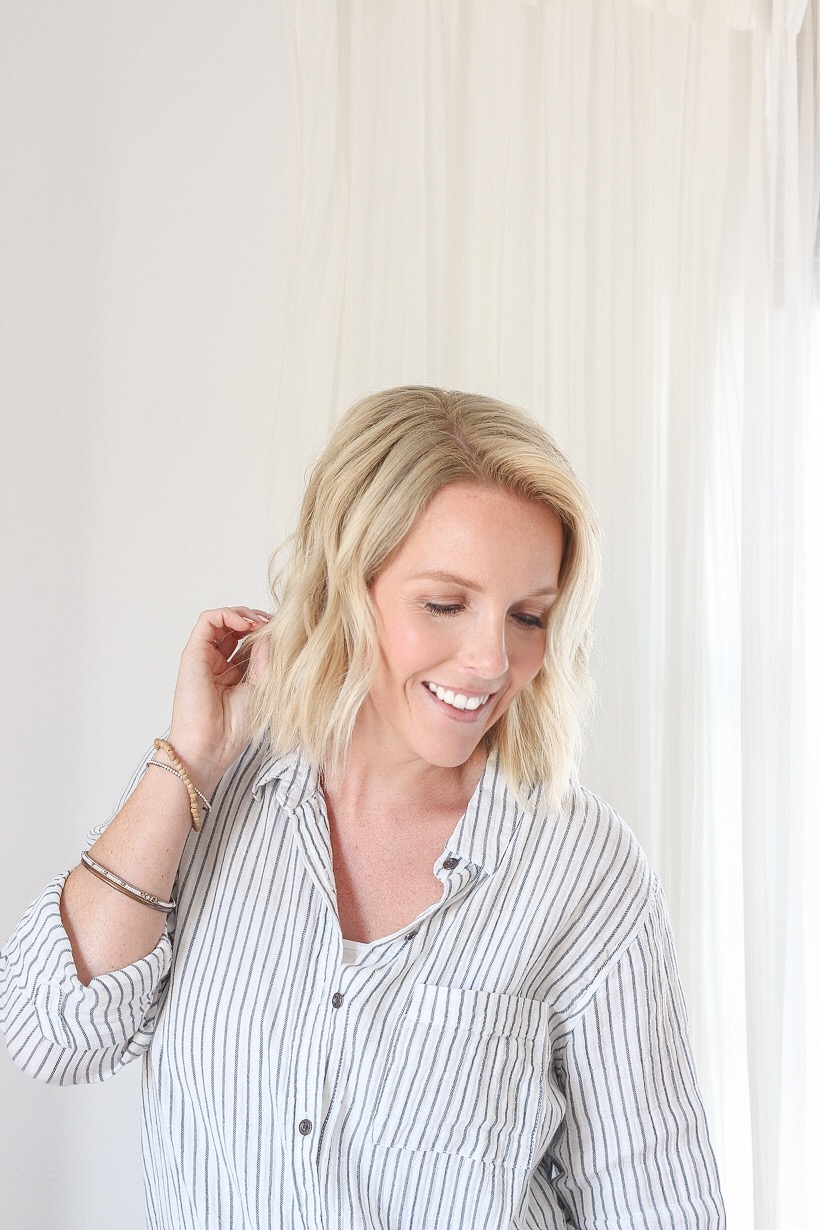
Hey, gorgeous! Are you struggling to find ways to style your short hair? Look no further! I’ve got two fabulous methods that will make your locks look stunning. Today, I’ll spill the beans on how to create loose, natural curls with a straightener. Trust me, it’s easier than you think!
Why I Fell in Love with Straightener Curls
I know it might sound strange, but using a straightener to curl your hair has its perks. Let me break it down for you. Firstly, the flat iron method gives you flatter, more effortless curls. Unlike traditional curling irons, the straightener’s square shape creates a unique curl pattern that looks relaxed and natural. Plus, you can easily achieve a messy look by leaving the top and bottom parts of your hair straight. No more frizzy ends!
This technique works wonders on any hair length. Whether you have a pixie cut or long locks, grab your straightener and let’s get started!
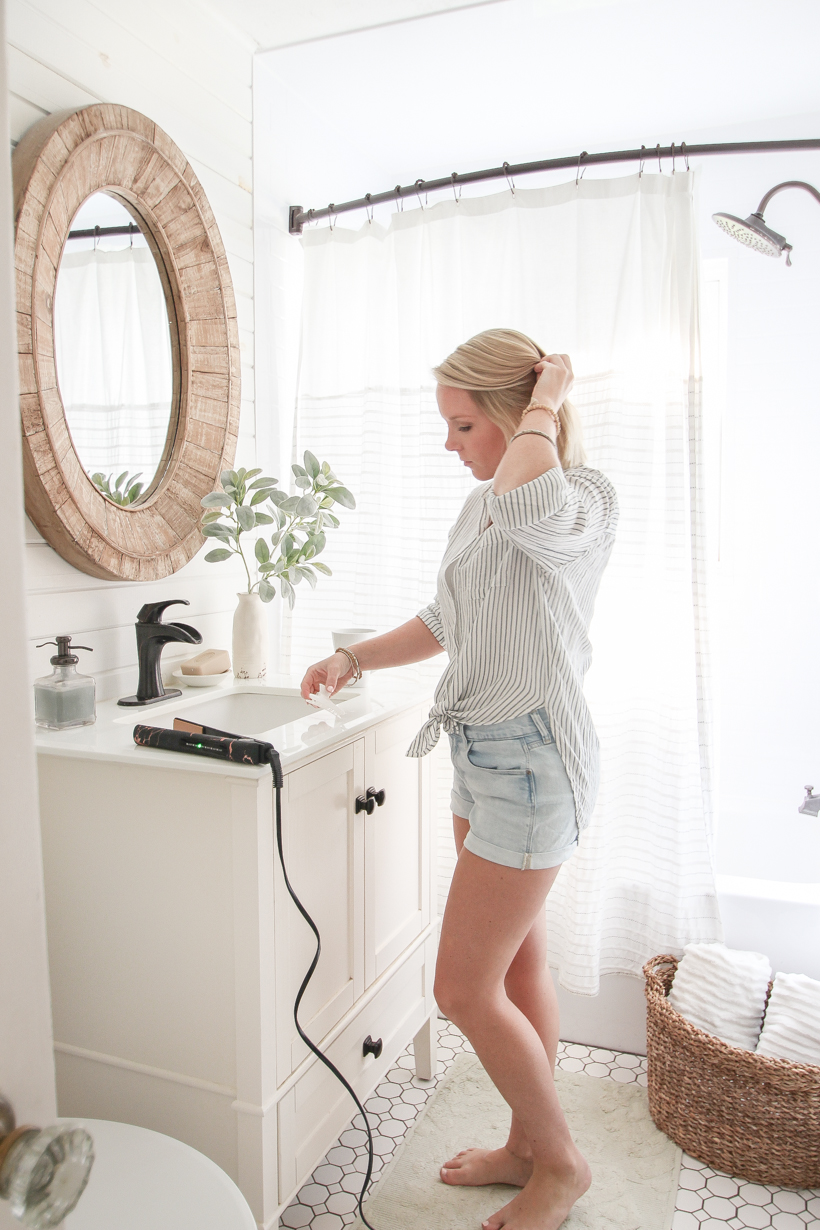
Products You’ll Need:
- Straightener/Flat iron
- Brush
- Hair clip
- Heat protectant spray
- Texture spray
- Hairspray
Instructions:
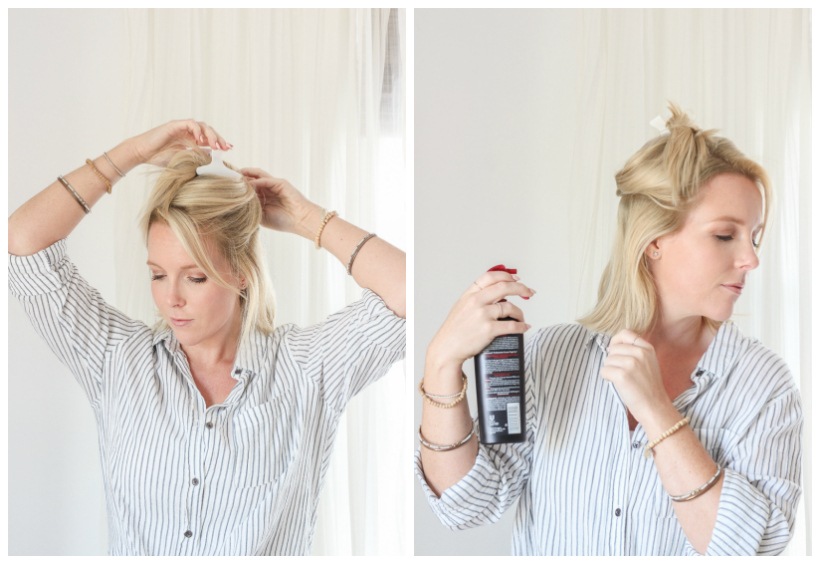
- Brush your dry hair and clip up the top two-thirds.
- Spray heat protectant on the bottom third of your hair.
- Starting an inch or two away from the scalp, clamp the straightener vertically on a small section of hair.
- Rotate the straightener backwards 180º away from your face.
- Slowly slide the straightener down the hair strand, keeping tension as you pull it backwards.
- As you finish each curl, twist/twirl the hair in the direction you curled it to help it hold its shape.
- For a more relaxed look, leave the top inch and the very bottom of your hair uncurled.
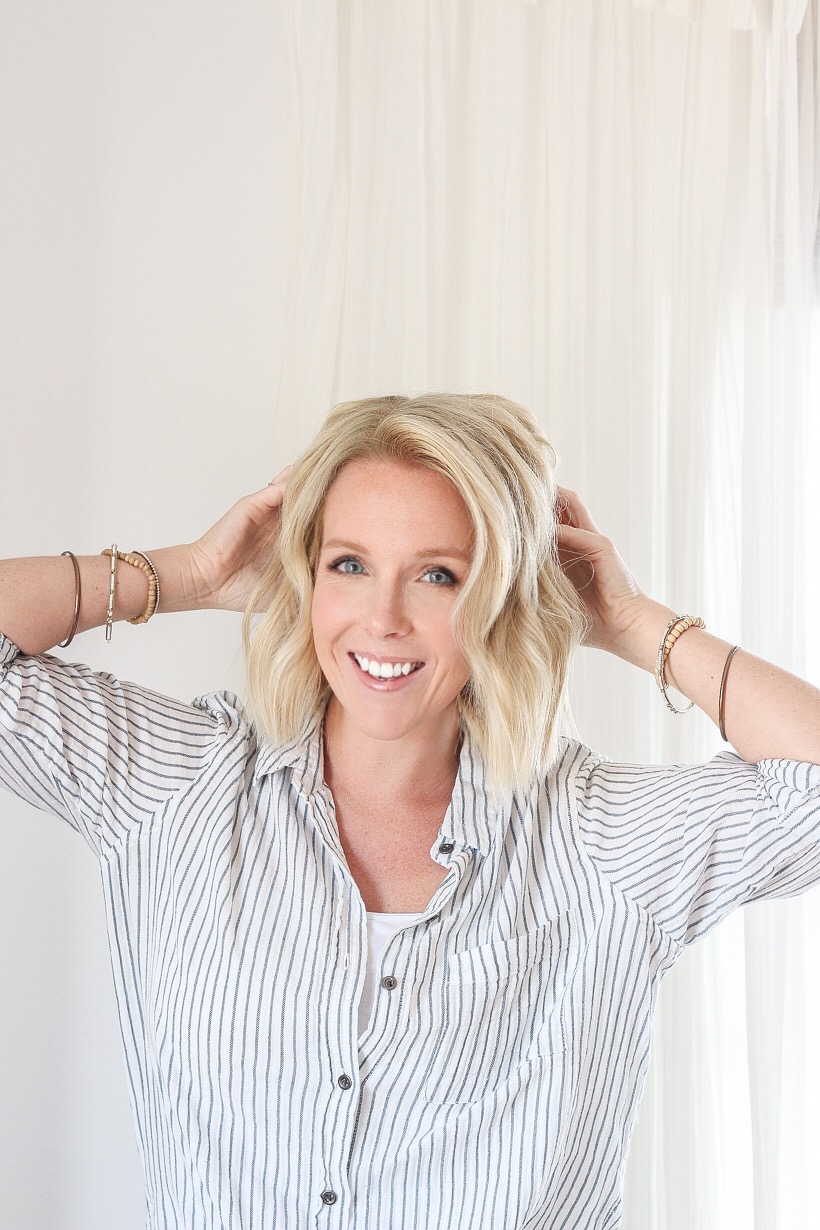
- After curling the entire bottom section, separate the curls with your fingers to create texture.
- Spray texture spray for added fullness and hold.
- Let down the next section and repeat steps 2-9 until all your hair is curled.
- Finish with a light spritz of hairspray to lock in the curls.
Insider Tips for Perfectly Curled Hair
- For a softer look, curl the hair around your face loosely, leaving more straight hair at the roots and ends.
- Don’t be afraid to re-curl any pieces that don’t meet your expectations.
- If you have a tight curl, gently run the straightener through the hair with a slight rotation to relax it.
- These curls are a great base for other hairstyles, like half-up buns or ponytails with loose, voluminous curls.
Next Day Hair: How to Keep Your Curls Fresh
Want to make your curls last longer? Here’s what you can do on the second day:
- Brush out your curls before bedtime to prevent tangles.
- In the morning, apply a bit of dry shampoo to your roots if needed.
- Recurl only the top two layers using the same technique.
- Enjoy the added texture and grip from the previous day’s styling.
Feel free to play around with your curls on day two! Try different styles like half-up buns, pinned-back pieces, or face-framing braids. The possibilities are endless!
That’s a wrap, my beautiful friends! I hope this tutorial helps you create stunning curls with your trusty straightener. If you have any questions, hit me up. You can also find a video tutorial on my Instagram stories or highlights. Stay fabulous! 💖